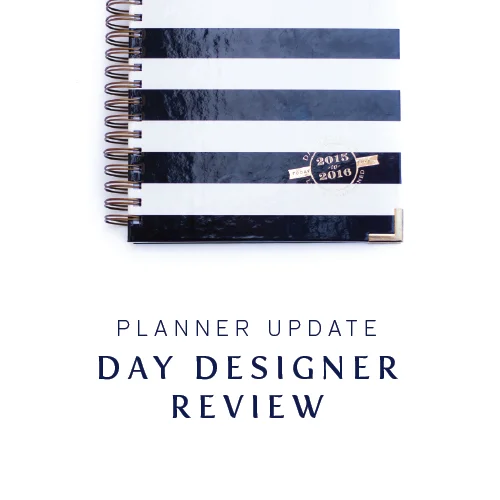
Planner update | Review of Day Designer

Before I get started on today's post- don't forget that today is the LAST day to enter the BIG giveaway celebrating my brand launch!! If you haven't had a chance yet to enter just click HERE

A few months ago I did a review of the new planner I had decided to purchase. I ended up going with the Plum Paper planner and I really had high hopes for this planner being one that would really help me stay on point. Unfortunately, it only took a couple of months for me to realize that it just wasn't going to work. Sad face! 

Although the planner had lots of great features including option to choose month of start, personalized cover and addition of sections for notes or blog planning etc...the day to day just didn't cut it for me. I feel like I really work best with To Do lists and I'm not sure why I didn't realize that was really what I was looking for out of a planner. A way to categorize everything that I had to do for that day. I ordered the Plum Paper planner with a weekly format that included sections for Personal, Blog, Dinner etc...but I was left with no room to write down all of the specific things that I needed to get done for that day. 

I decided to cut my losses and go back to the drawing board. I knew there were a couple of planners out there on the market that were "to do list" based, so a month or so ago, I carefully reviewed each of them and made my choice. 

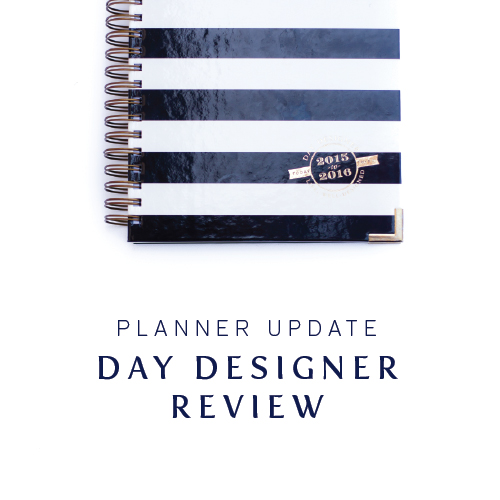
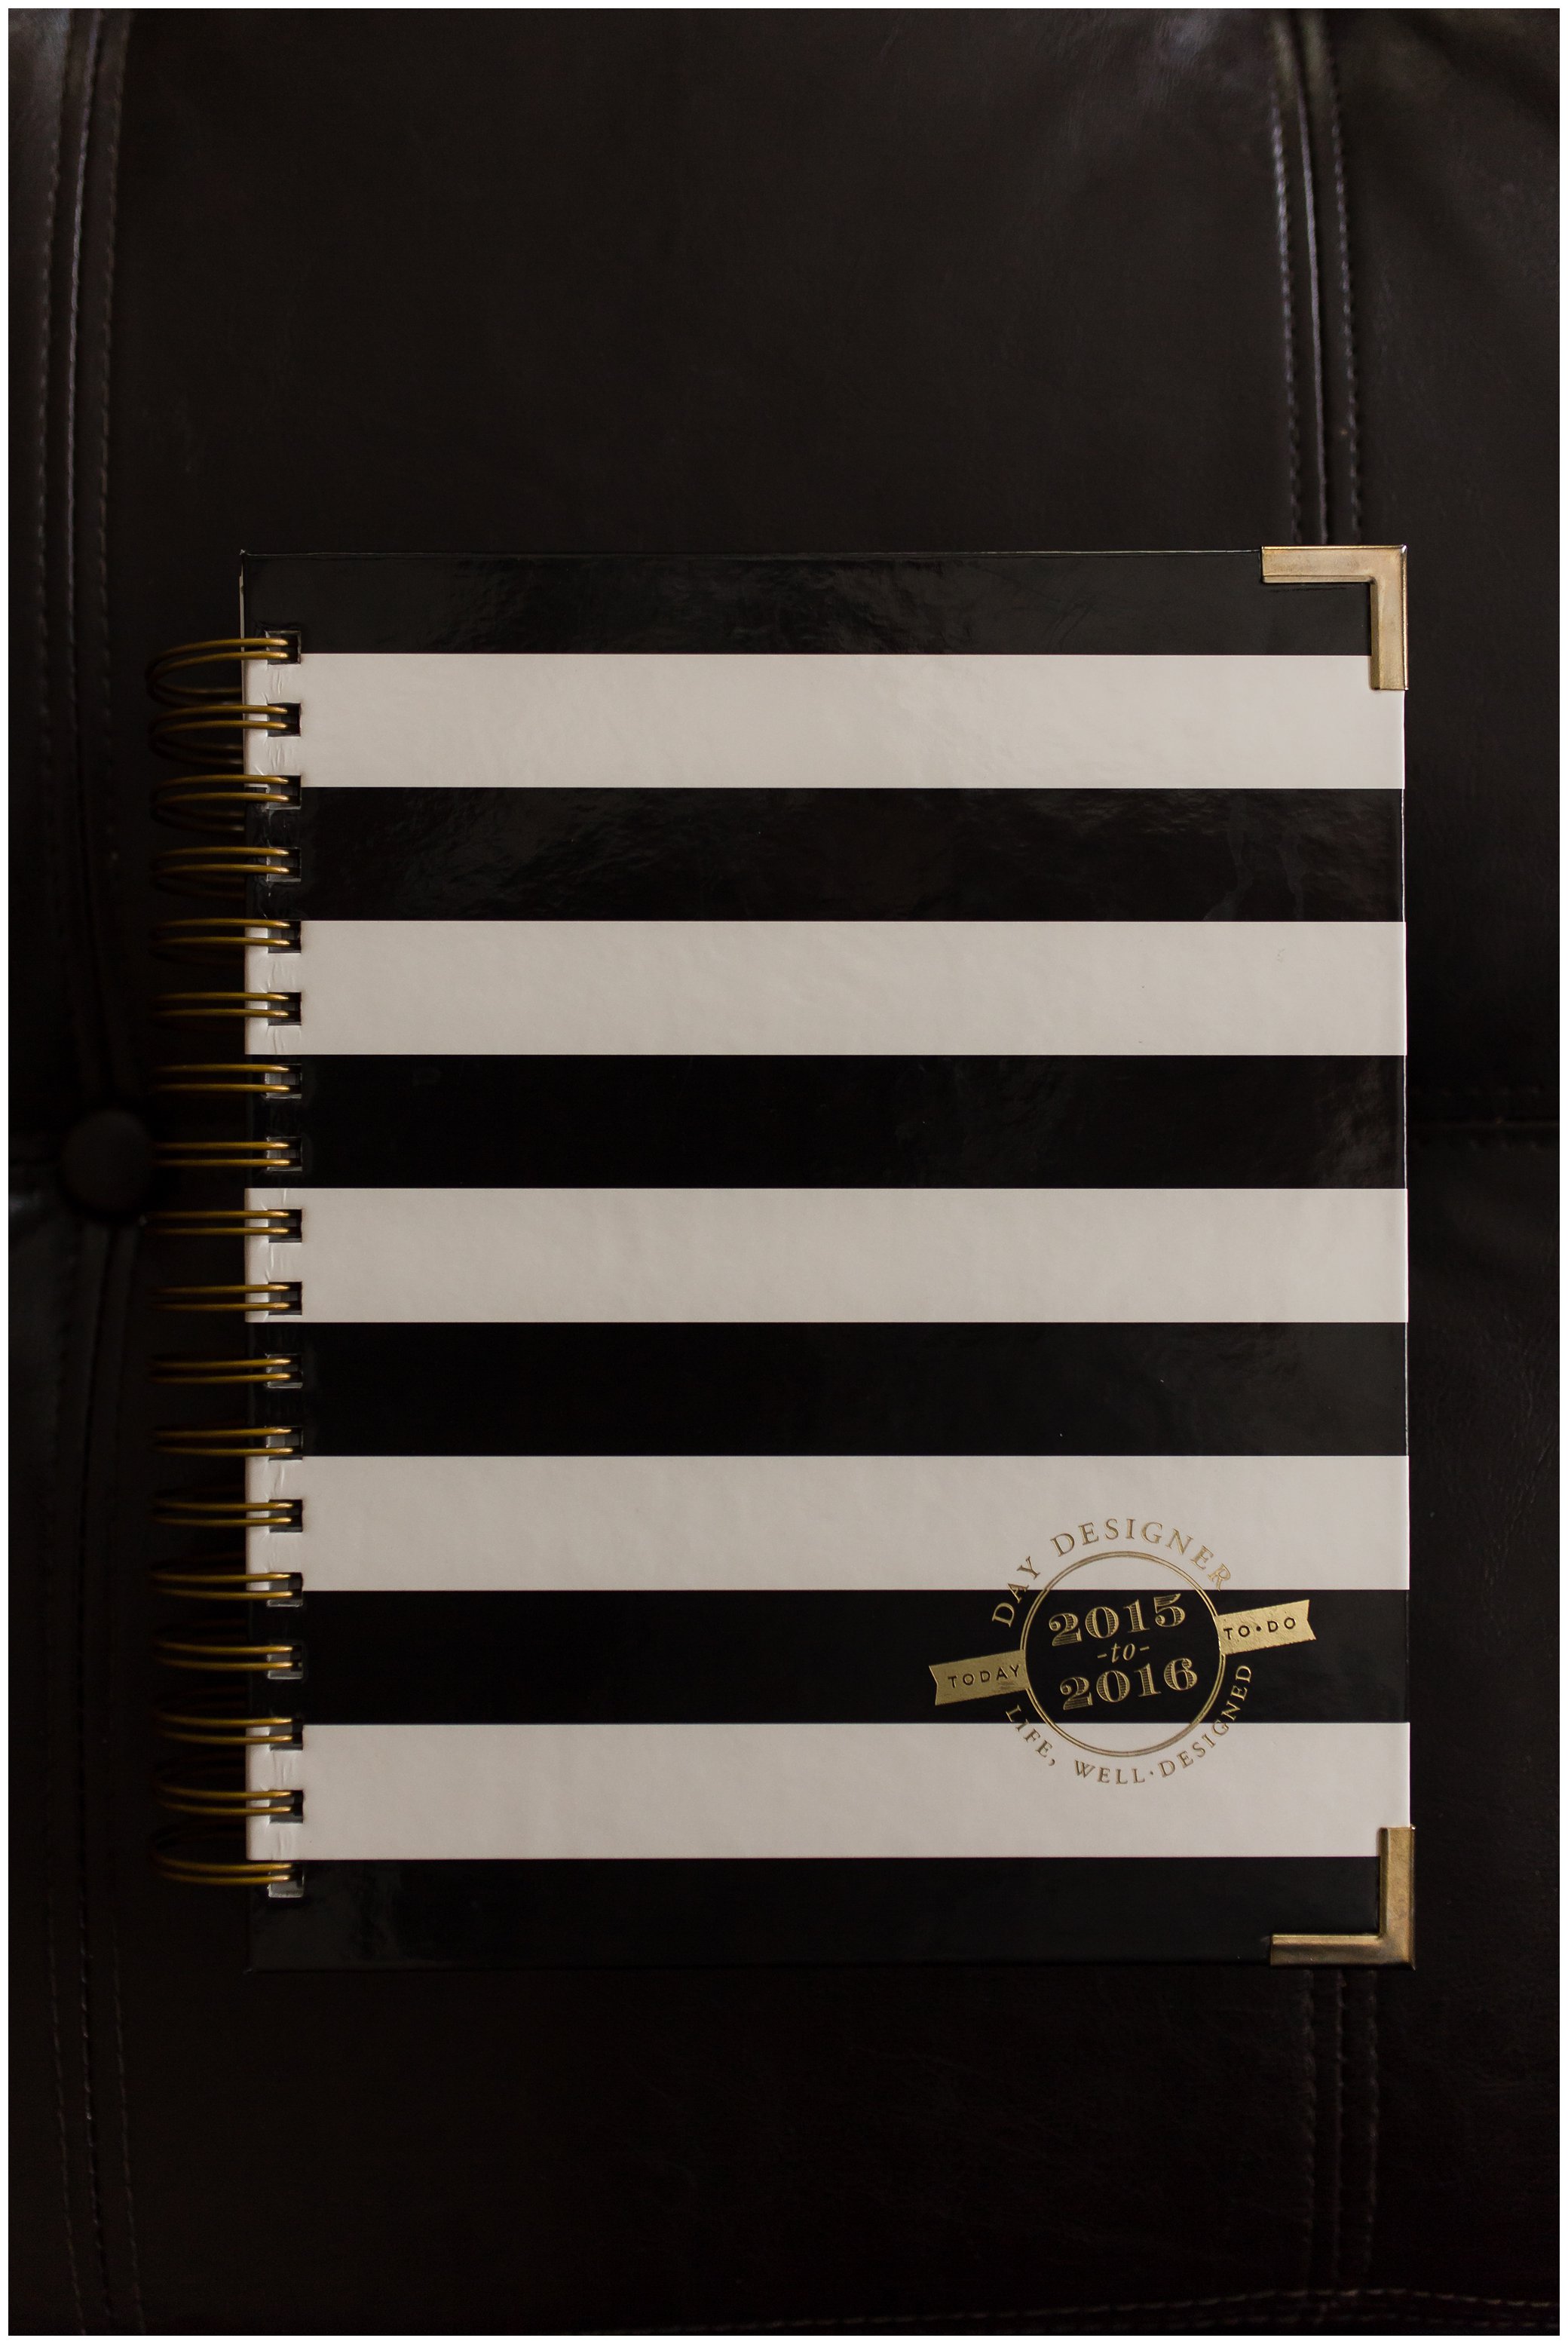
I landed on the Day Designer from Whitney English. 

Planner Update Review of Day Designer

I've been using this planner for a little over a month and already I can tell a huge difference. Even though there may not be as many features or customizations available with the current Day Designer, the general simplicity and flow of the planner is already working better for me. 

The black and white stripe is attractive and professional and the book is a good size and the coils are very sturdy. I like the reinforced gold edges as well. 

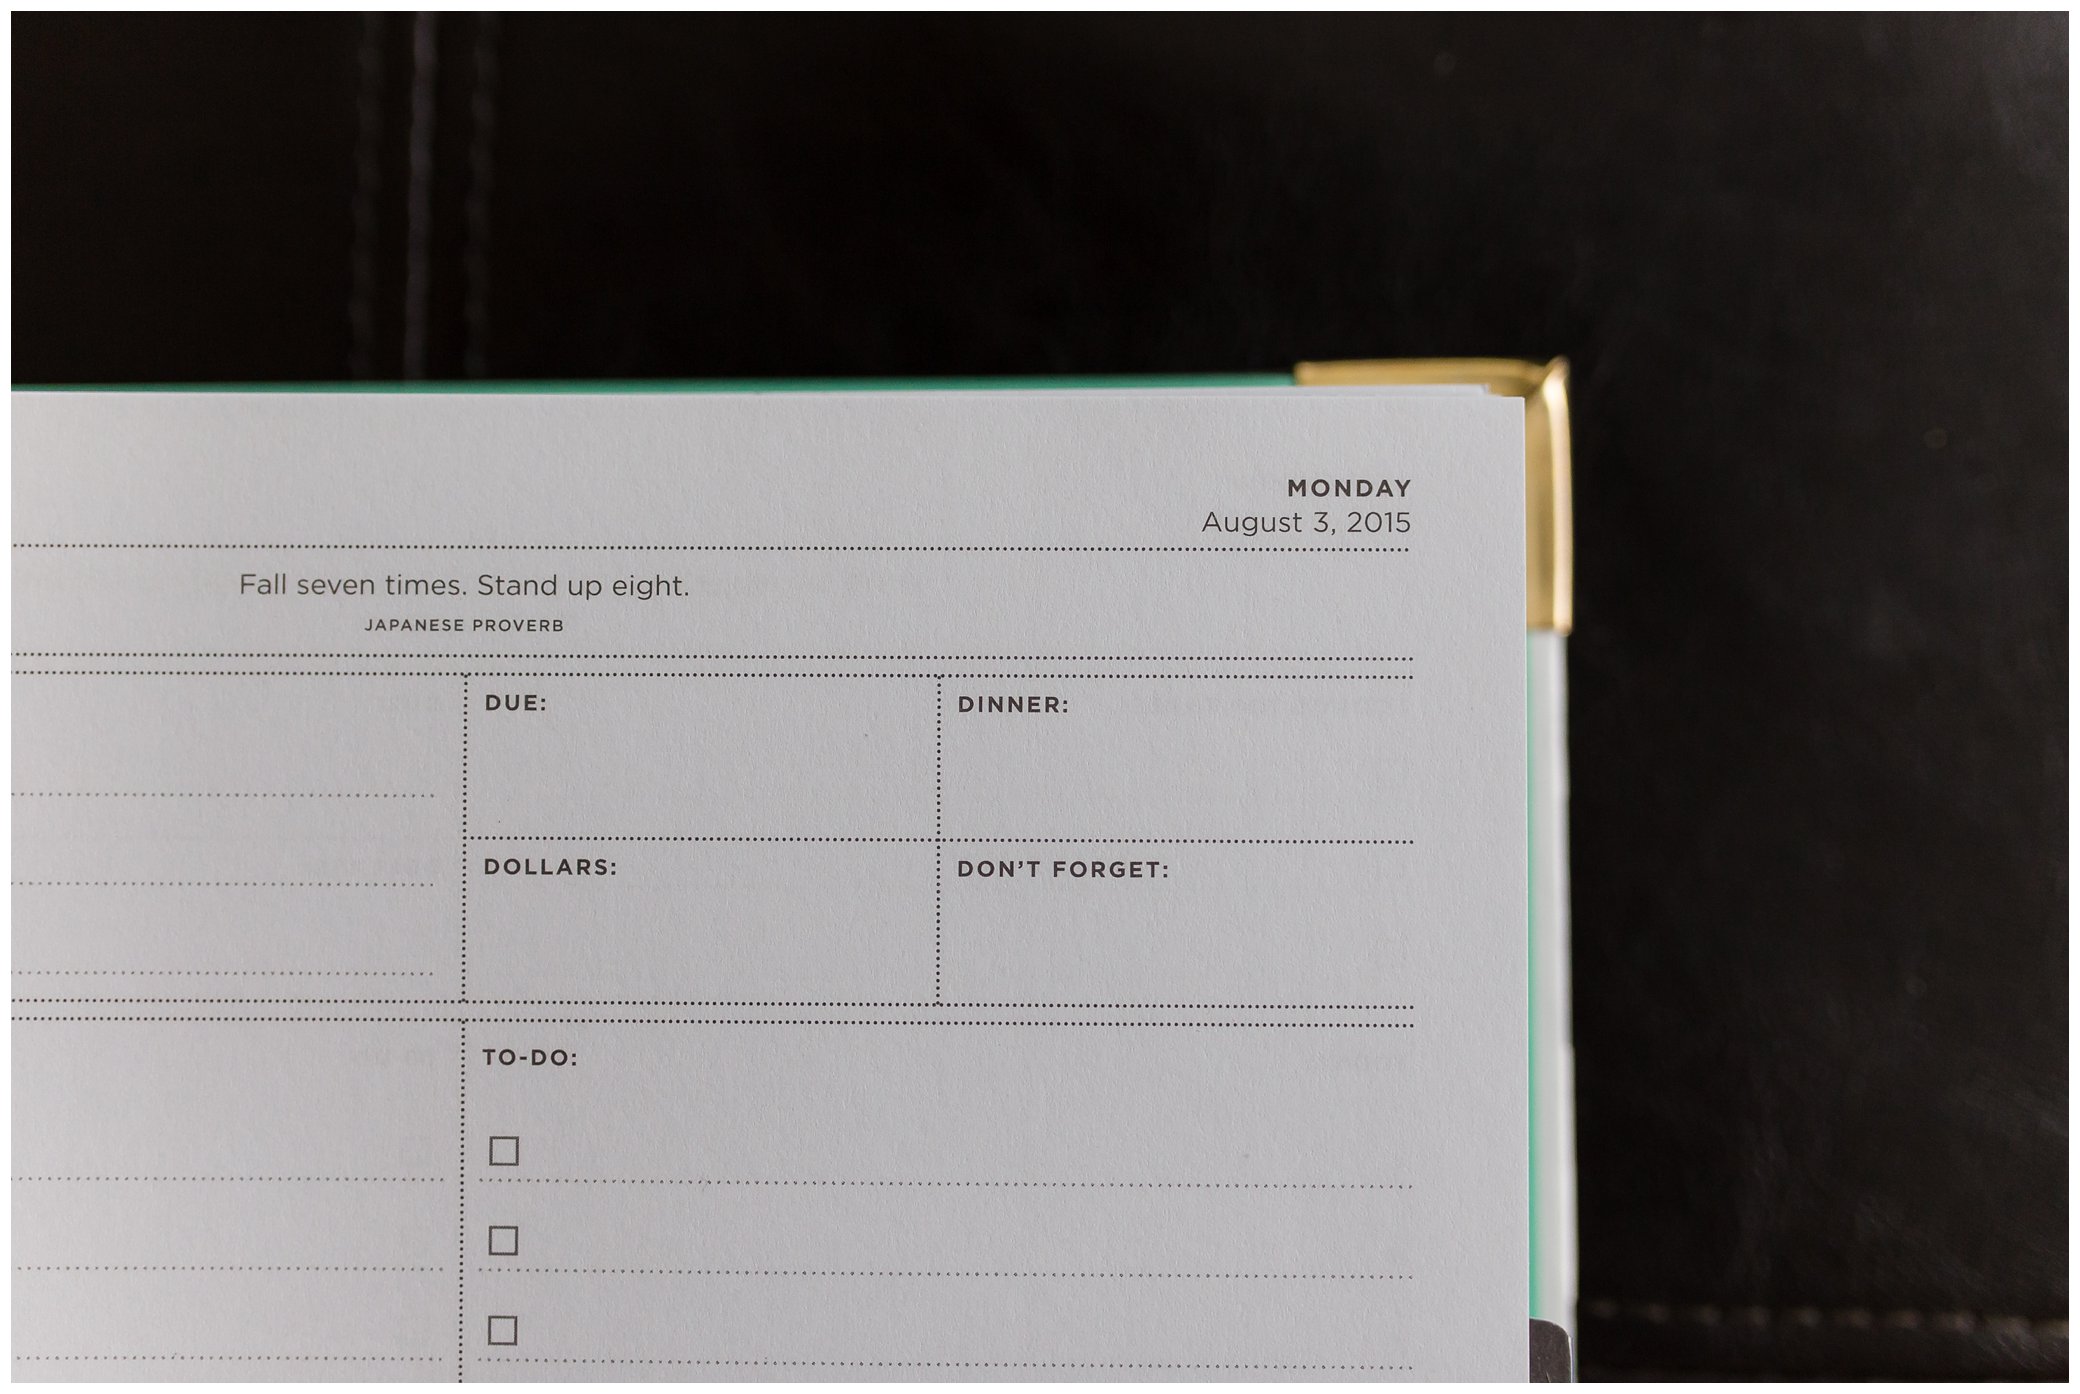
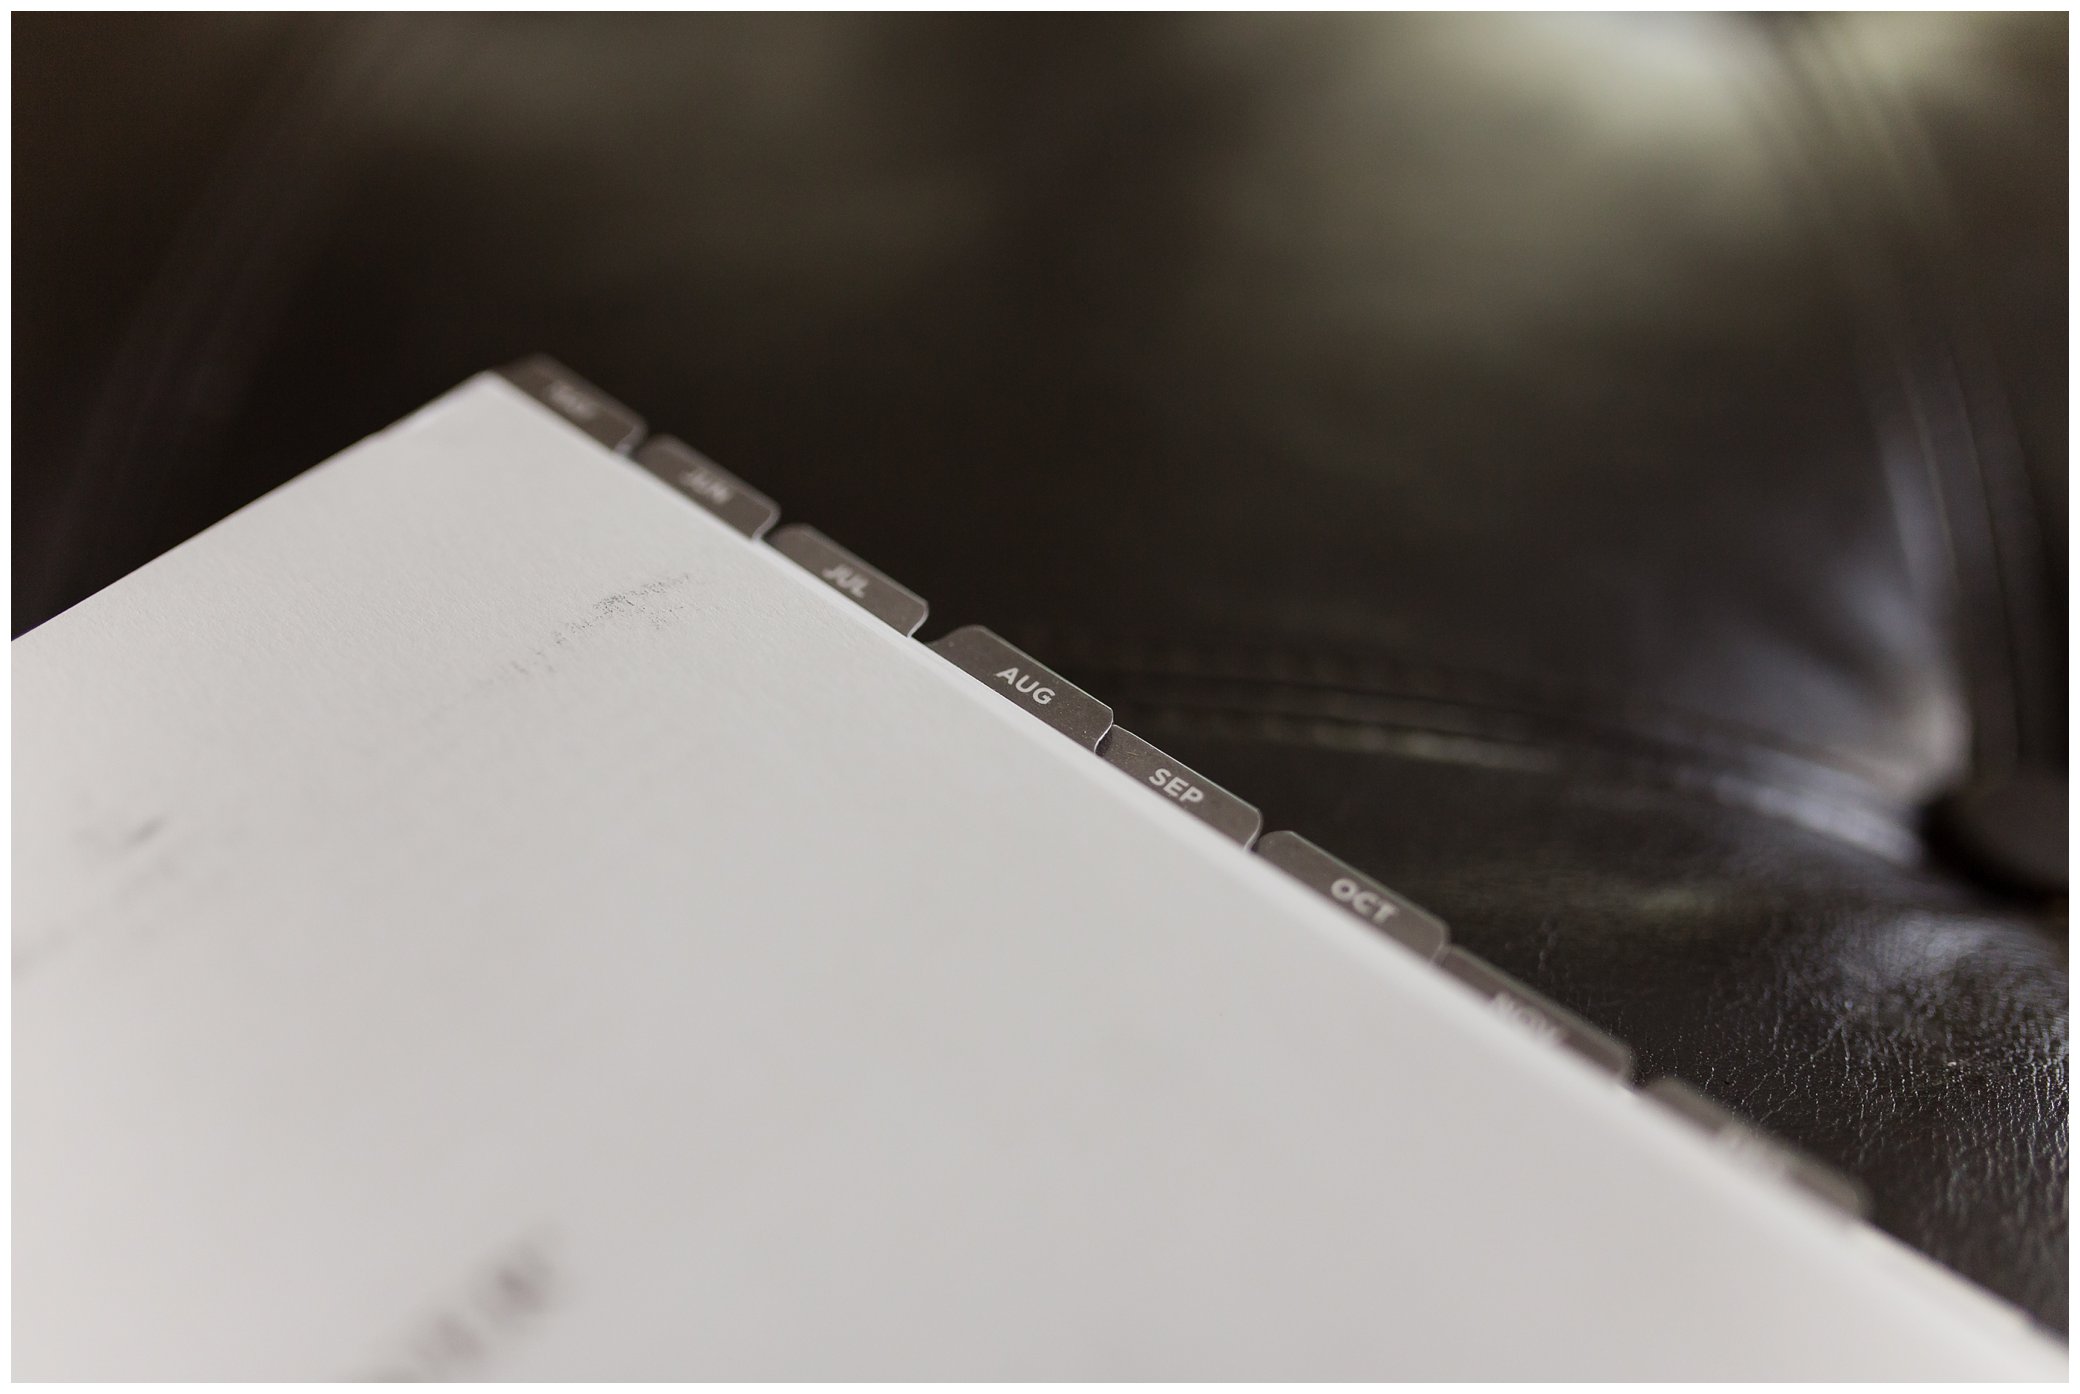
There are different editions of the planner that start at different months throughout the year. I believe there is a January, May and August start month so you just have to order the planner at the right time. Luckily I decided to order right when the May edition was being released so the timing worked out perfectly. 

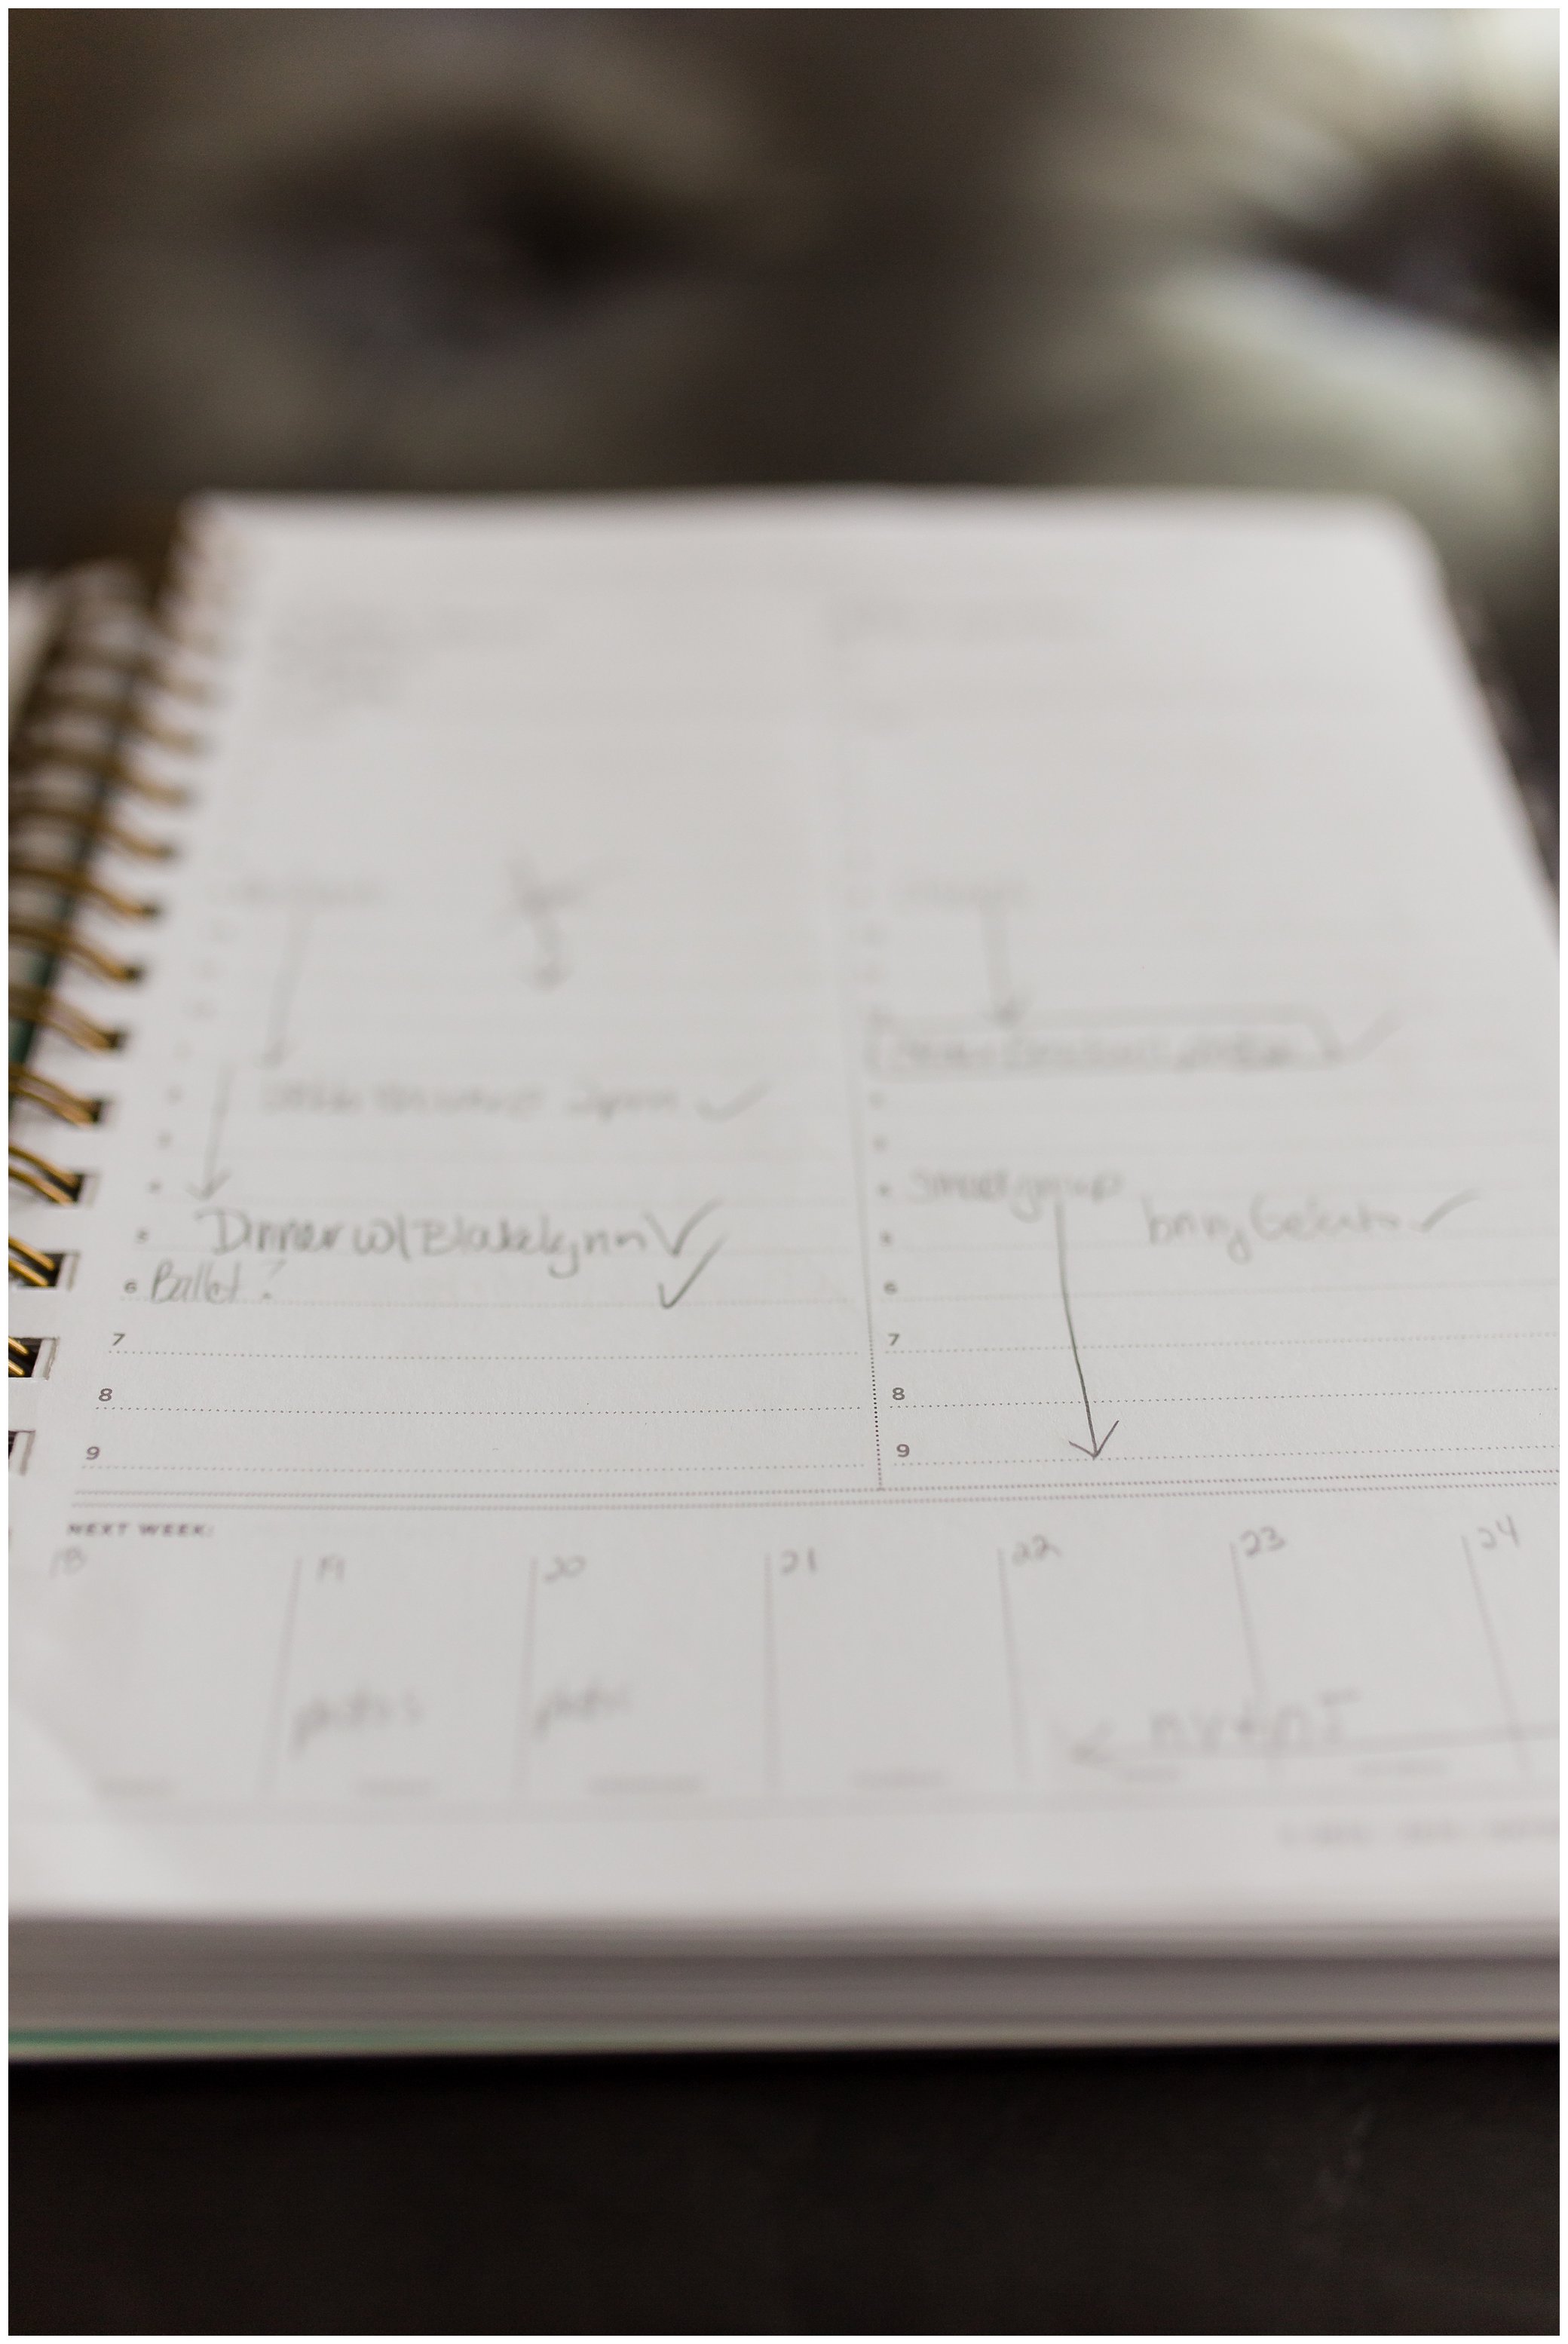
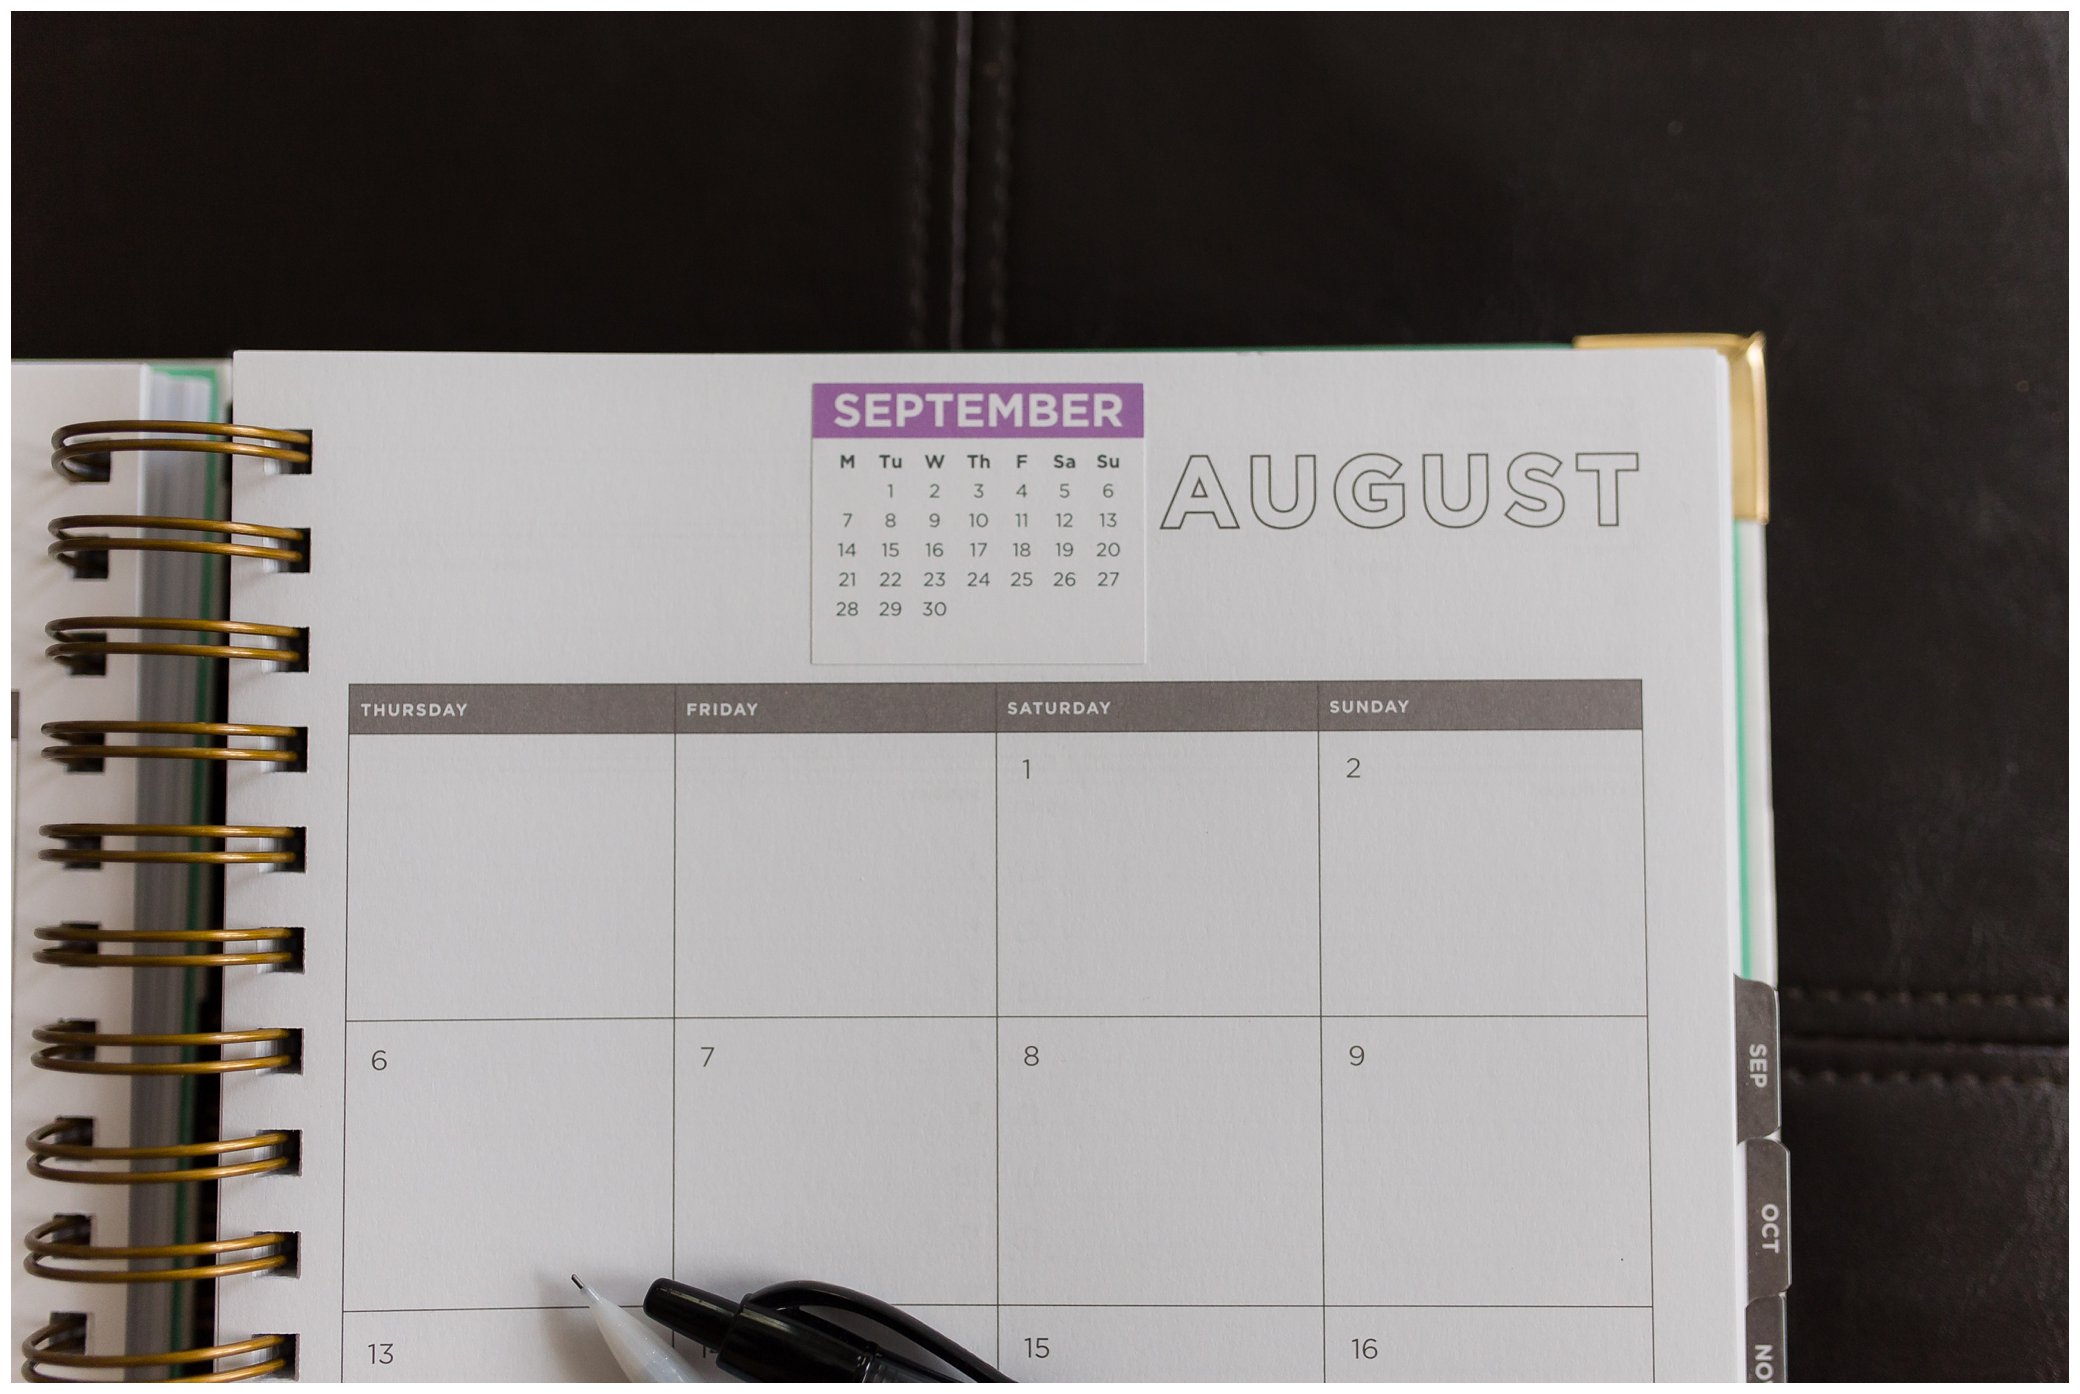
The planner is very simple and includes a month layout for each month and then every day has its own page with a to do list and also a schedule starting at 5am and ending at 9pm and its broken out in hour increments. 

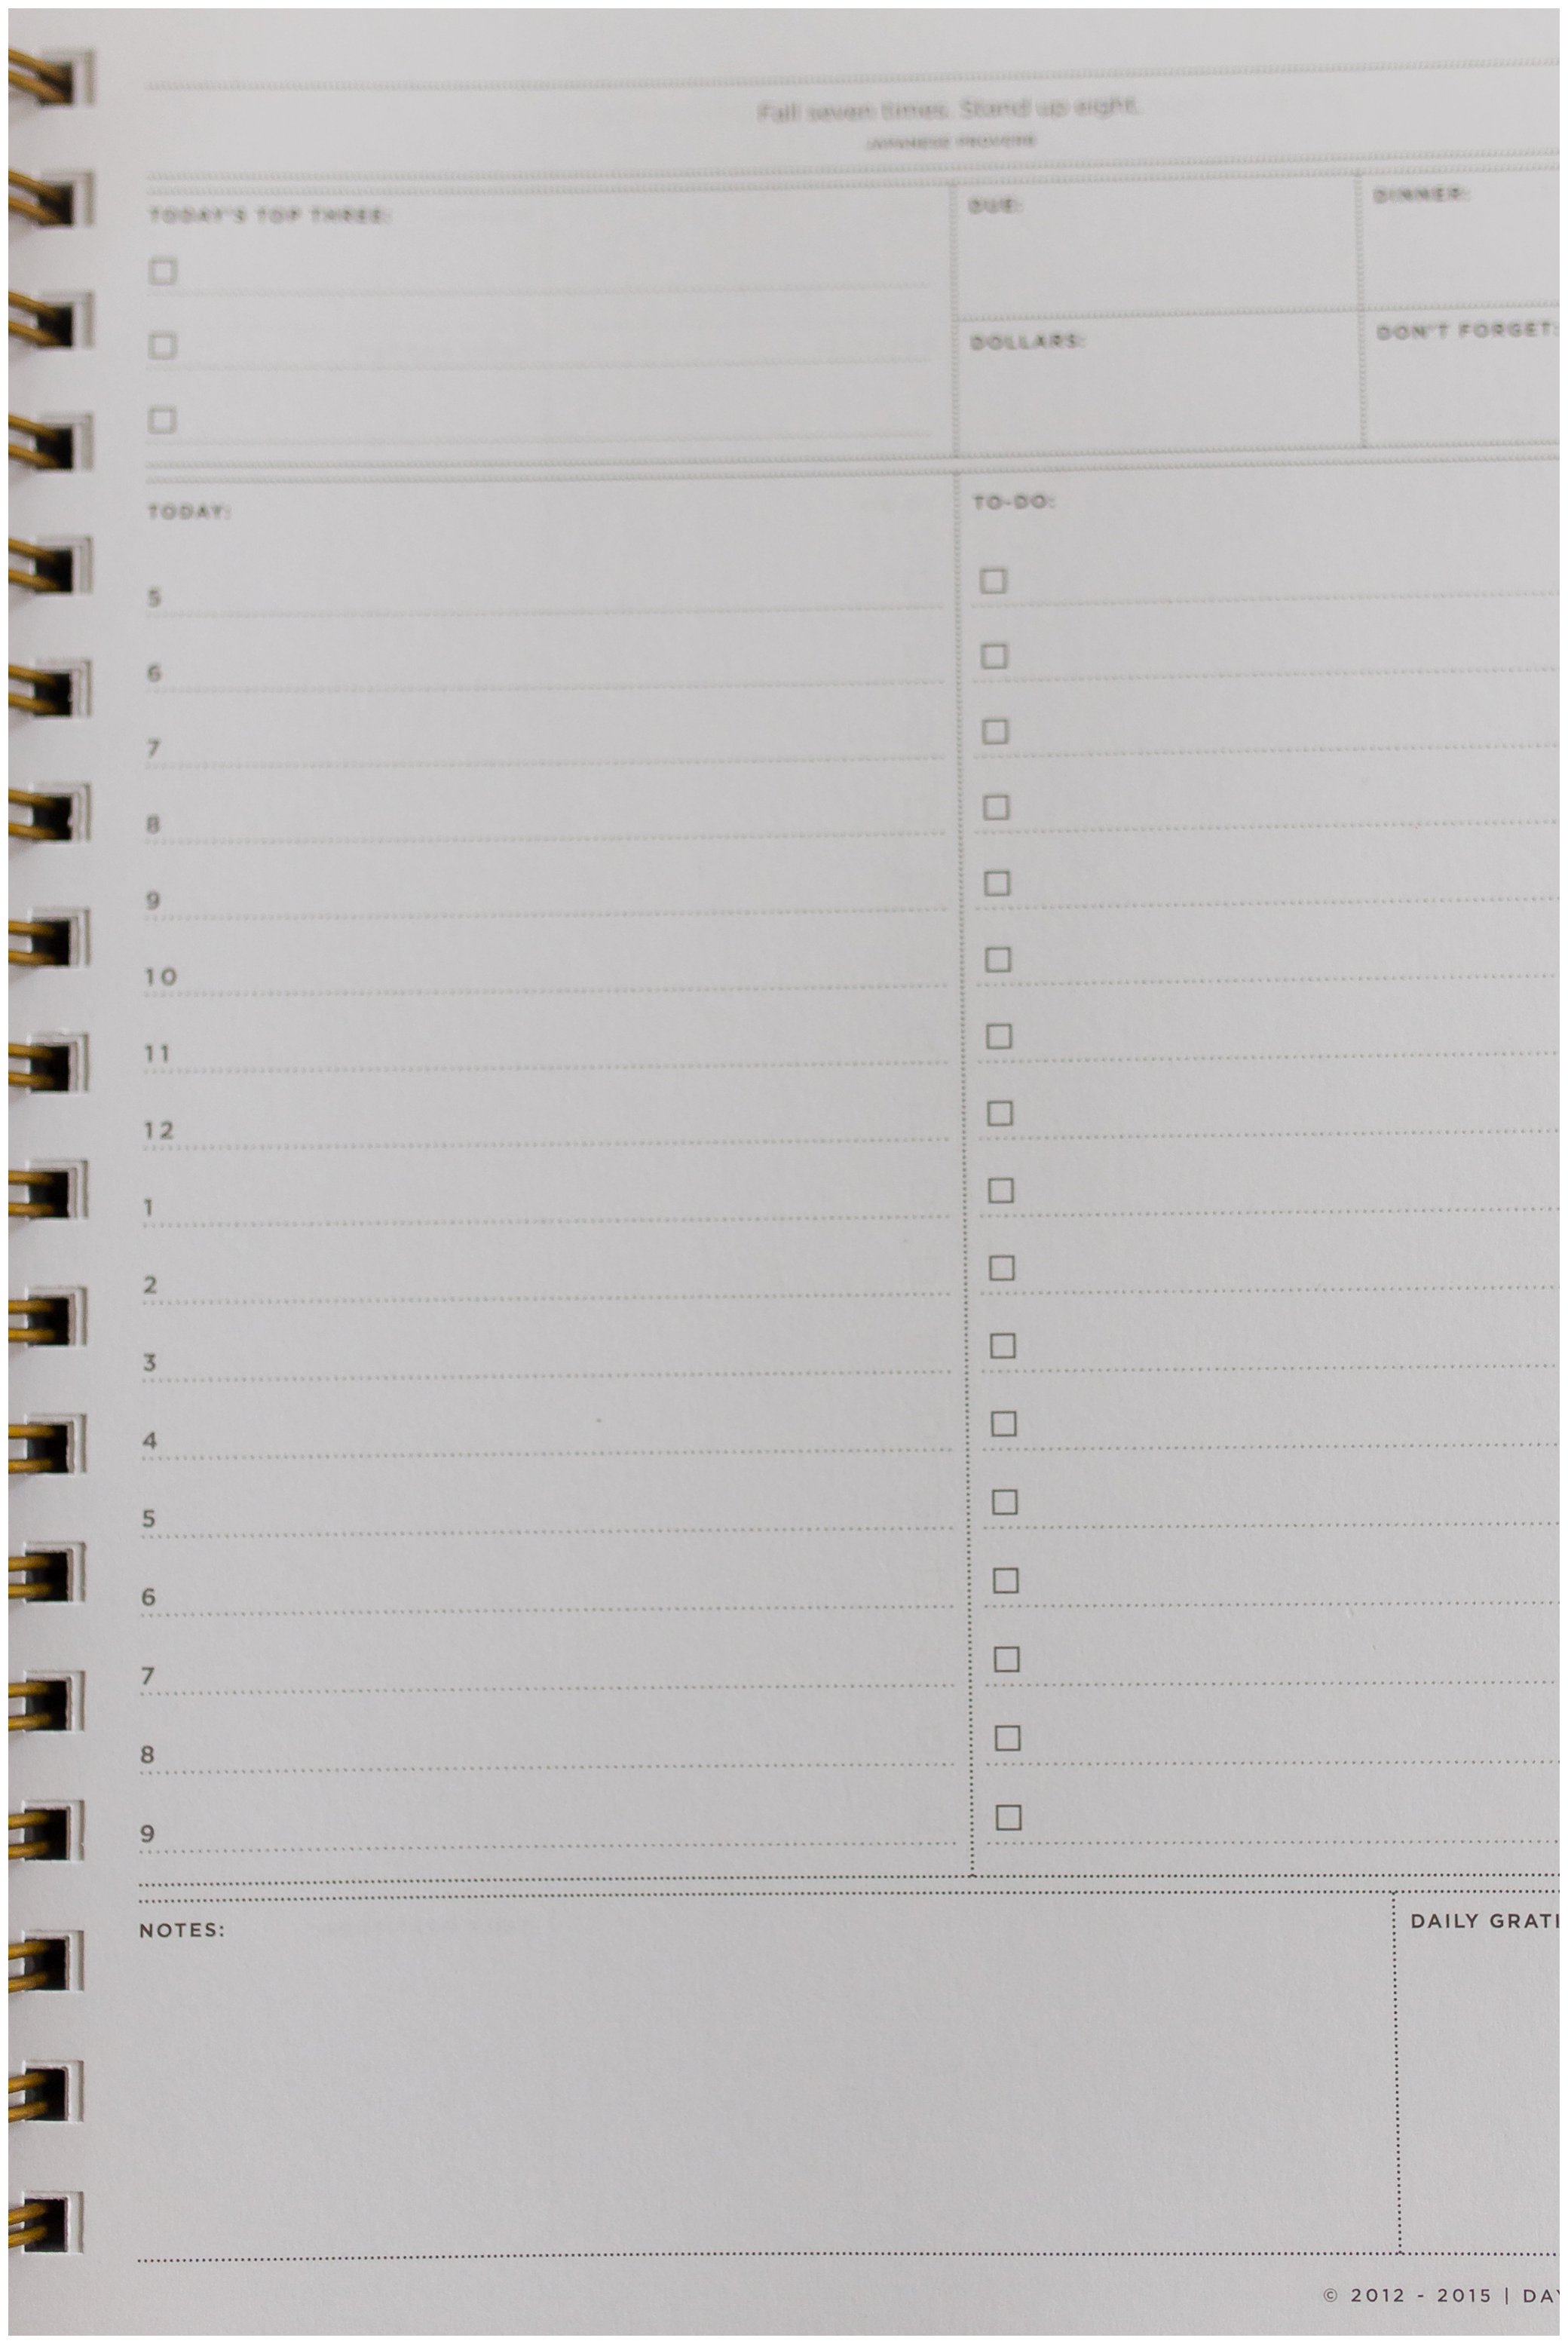
At the bottom of each page is a small Notes section as well as a Daily Gratitude Section. At the top of the page there is a Top 3 to do list as well as breakout sections for Due, Dollars, Dinner and Don't forget. There is also a small inspirational quote included on each day. 

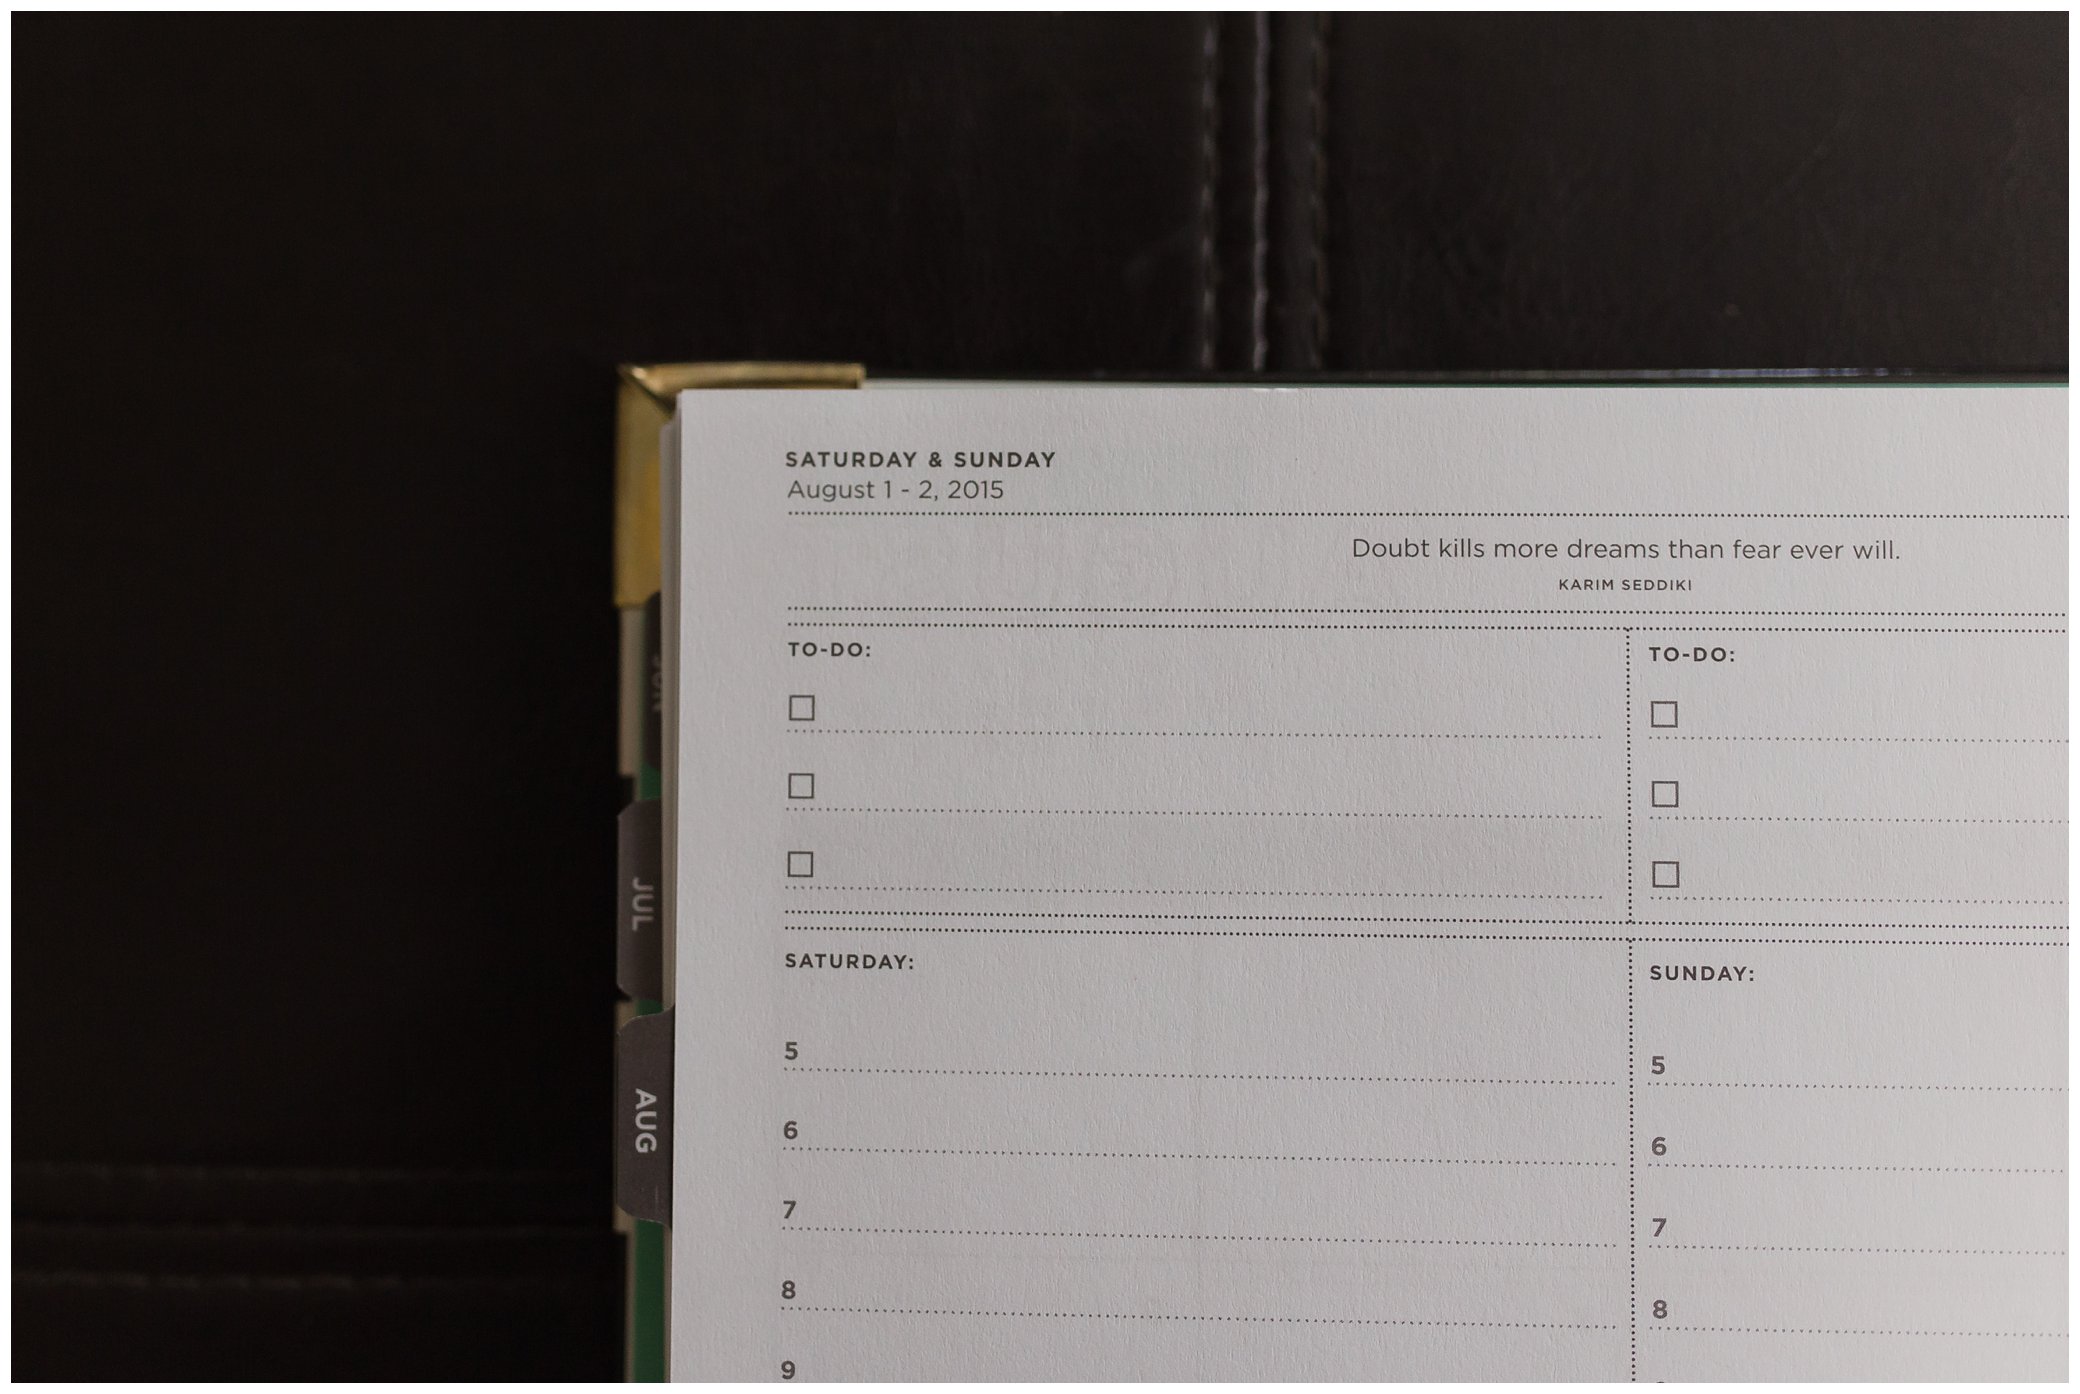
Saturdays and Sundays are on one page together and have shortened to do lists and schedulers all listed on one page. 

I purchased a few stickers from Faye Creates on etsy to add to the planner. I got some camera stickers that I can use to highlight shoot dates, some stars and tags to highlight meetings etc...and some calendar stickers to include on the top portion of the month overview so I can see last month and the next month at a glance. 

The Nitty Gritty- My thoughts so far

I really didn't think that I would like or need an hour by hour schedule in my planner but I'm actually getting a lot of use out of it. It helps me to see what the day looks like at a quick glance. 

I LOVE the to do list and all the room on every single day to have so many items. I also love that there are checkboxes because what listmaker doesn't just looooooove crossing things off of a list? I also do what classic list makers do often and sometimes write things on my list after I have already done them JUST to cross it off! 

I've also discovered that since my introduction to Trello, I am finding that program PLUS the paper planner has been a great system! I just might go into a deeper dive in a future blog post about how I use Trello together with my Day Designer to really keep myself organized and in charge of the never ending to do list. 

According to all of the buzz on the Day Designer Instagram, they have joined in partnership with BlueSky Planners to come out with some new editions in the next few months that will be perfect additions to this already stellar line of planner products. I would say that if you like making to do lists and find yourself adding countless to do lists to your planner already, a Day Designer might be a really good choice for you! 

I will likely update in a few months after our move and our first few months in our new city. Hopefully I can stay on track and keep things organized! Wish me luck! =) 

What do you use to keep organized? 

Light Trumps Background

I am starting a new mini series today and talking all about how to find the best and most delicious light in which to take your photos. These strategies can help you if you are a photographer looking for good locations or if you just want to take better photos with your phone or your point and shoot camera. All of the same principles apply! I'm calling this series: Looking for Light in all the right places!

Looking for Light in all the right places | Light trumps Background | Cinnamon Wolfe Photography

When I first started taking photography seriously, I made the same classic mistake that most (if not all) beginners make: being highly concerned with what background I place my subject in front of. 

This led me to high amounts of frustration mostly due to where I was currently living. I was in Ridgecrest, which is a small town in the Mojave desert with not a lot of trees or tall buildings or anything really super attractive to put subjects in front of. I felt limited in my location selection because of this in addition to the fact that it stays VERY sunny and VERY warm in Ridgecrest throughout the year so I also had the issue of dealing with mass amounts of very direct, harsh sunlight. 

However, as I progressed I came to learn something extremely important, light always trumps background. If you have to choose between a gorgeous background with really bad light or a not so interesting background with stunning light, ALWAYS CHOOSE THE LIGHT!  Sometimes you get really lucky and you find both and those are often locations that photographers will choose again and again simply because they want their clients to have the best of both worlds. 

How do I know what "good light" is? 

This is one of those questions that honestly doesn't have a correct answer. It is as subjective as any art form is. What one person gravitates toward regarding lighting maybe the opposite of what someone else gravitates toward. For the purposes of this post however and since I am a mostly natural light photographer, I will be talking about different strategies regarding the kind of light that I love...the glowy beautiful dimensional light you can achieve from natural light outdoors. 

Tips for discovering great light

Practice

Take your camera with you everywhere. Practice taking shots of objects you come across out and about from all different directions. Take a friend or your spouse out to your front yard or back yard at different times of the day and take shots from all different directions not concerning yourself with the background. Study the results. The more time you take to practice different lighting situations, you will start to naturally see where the "good light" comes from or where it is occurring. 

Example: I started noticing the light in my neighborhood a while ago. When driving off the main road and taking the couple of turns on to my street in the late afternoon, I noticed how beautiful the sunlight was streaming through the trees. I decided to do a session right in my neighborhood for this exact reason. Houses and parked cars may not intuitively be a background you might think works for an anniversary session, but the light it so pretty, it really adds to the emotion and pop of the photo. 

Light trumps background:Looking for Light in all the Right Places | Cinnamon Wolfe Photography

Look for natural reflectors

Keeping an eye out for natural reflectors can really up your game when it comes to choosing locations and setting up your subjects. Since sometimes setting up in a backlight situation or in open shade, your subject can tend to be darker than the background and get lost in the photo. Using natural reflectors helps bounce light back on to your subject to make them look their absolute best without any crazy shadows or muddy skin tones. 

Example: This was a location I stumbled upon trying to get out of direct sunlight and it turned out to be one of my favorites. Not only does the pop of the blue bridge in the background add some color and interest, the concrete pathway is the perfect natural reflector to place my subject on. Although the sun is neither in front or behind them, the combination of the leading lines, natural reflector and cool colors in the back add up to one stellar location! 

Light trumps background:Looking for Light in all the Right Places | Cinnamon Wolfe Photography

Backlight

It is no secret that one of my favorite ways to photograph is backlit. Getting that beautiful light popping right behind your subject just adds so much dimension and interest and beauty into a photograph that I am sure it will be something I continue to do for a long time. Backlighting subjects can be difficult and it is one of the techniques that I have practiced the MOST since I started learning. The two most important things to remember is to expose properly for your subject and try to avoid lens flare. 

Example: I was at a friends house for a baby shower a while ago and the party was mostly in her backyard. Later in the afternoon I started noticing how amazing the light was looking in the side portion of her yard. The way the light was coming through the trees was stunning. I knew this would be a perfect location for a session. I ended up taking the Sansoms to their backyard for half of their maternity session! After the session, my friends girls came home from gymnastics and I asked if I could take a couple of photos of them in their beautifully lit backyard. The background is literally just a fence and a tree, but the way the light was shining through, I knew it would make a dynamic photo. Here are a few I took of the girls having some fun doing some jumps for me. 

Even it out

When considering the light for your photograph, in order to really highlight your subject and make them the focus of the photo you want to make sure the light is even on their face(s). Hotspots (bright spots) or deep shadows (usually in the eye sockets) are some of the biggest distractors from really letting your subjects "shine". If you have a stunning background but the light your subject would be in is dappled (spotted) or really harsh, they will end up squinting or with racoon eyes and nothing about the photo pops. Related Post: Harsh Even and Back Light 

Example: I sat Trevor and Mary down on some concrete steps for a couple of reasons. First, the concrete is a great natural reflector that would bounce the light that was coming from the right side back on to their faces and second, the steps were completely evenly lit. I composed the shot so that there were no distracting elements or hot spots in front or behind them which allows you to focus solely on them and their expressions. 


Light trumps background:Looking for Light in all the Right Places | Cinnamon Wolfe Photography

I hope you found these examples helpful for looking for that yummy light and stay tuned for a few other posts in this series coming in the next few months!